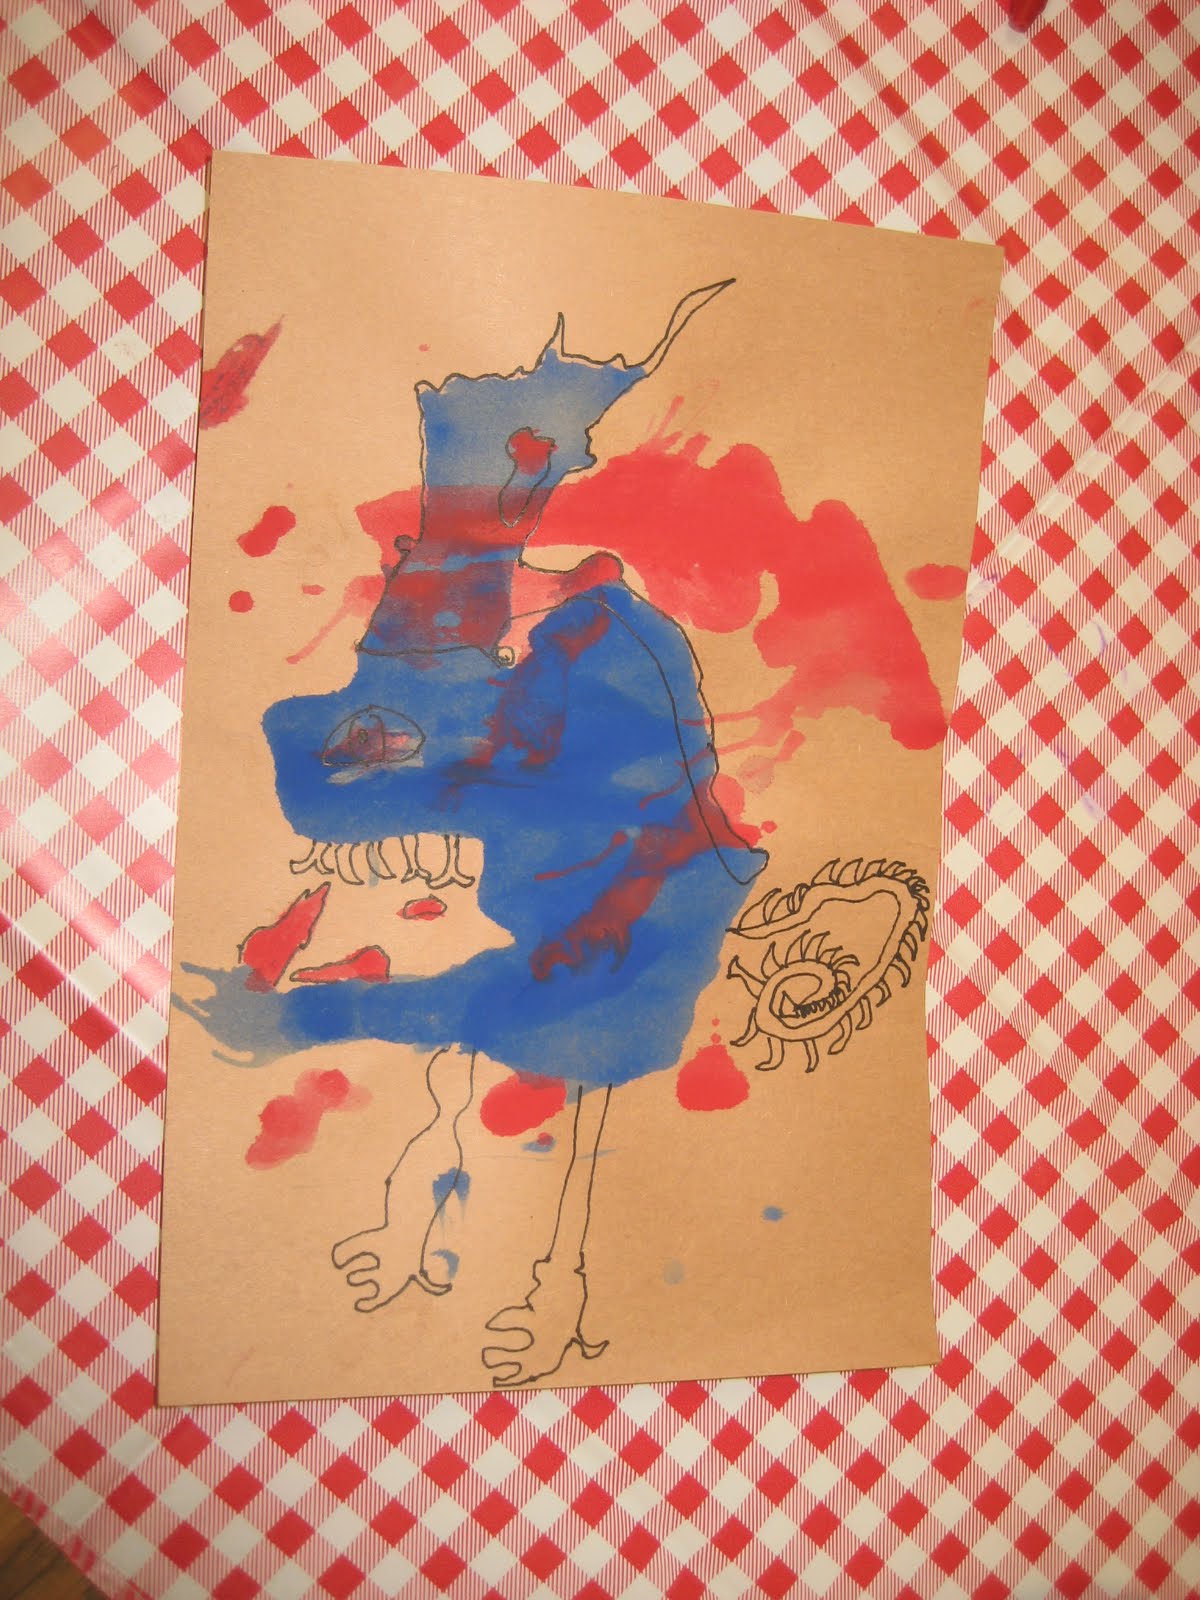
Van Gogh Starry Night Challenge & Charcoal Shading and Shadows
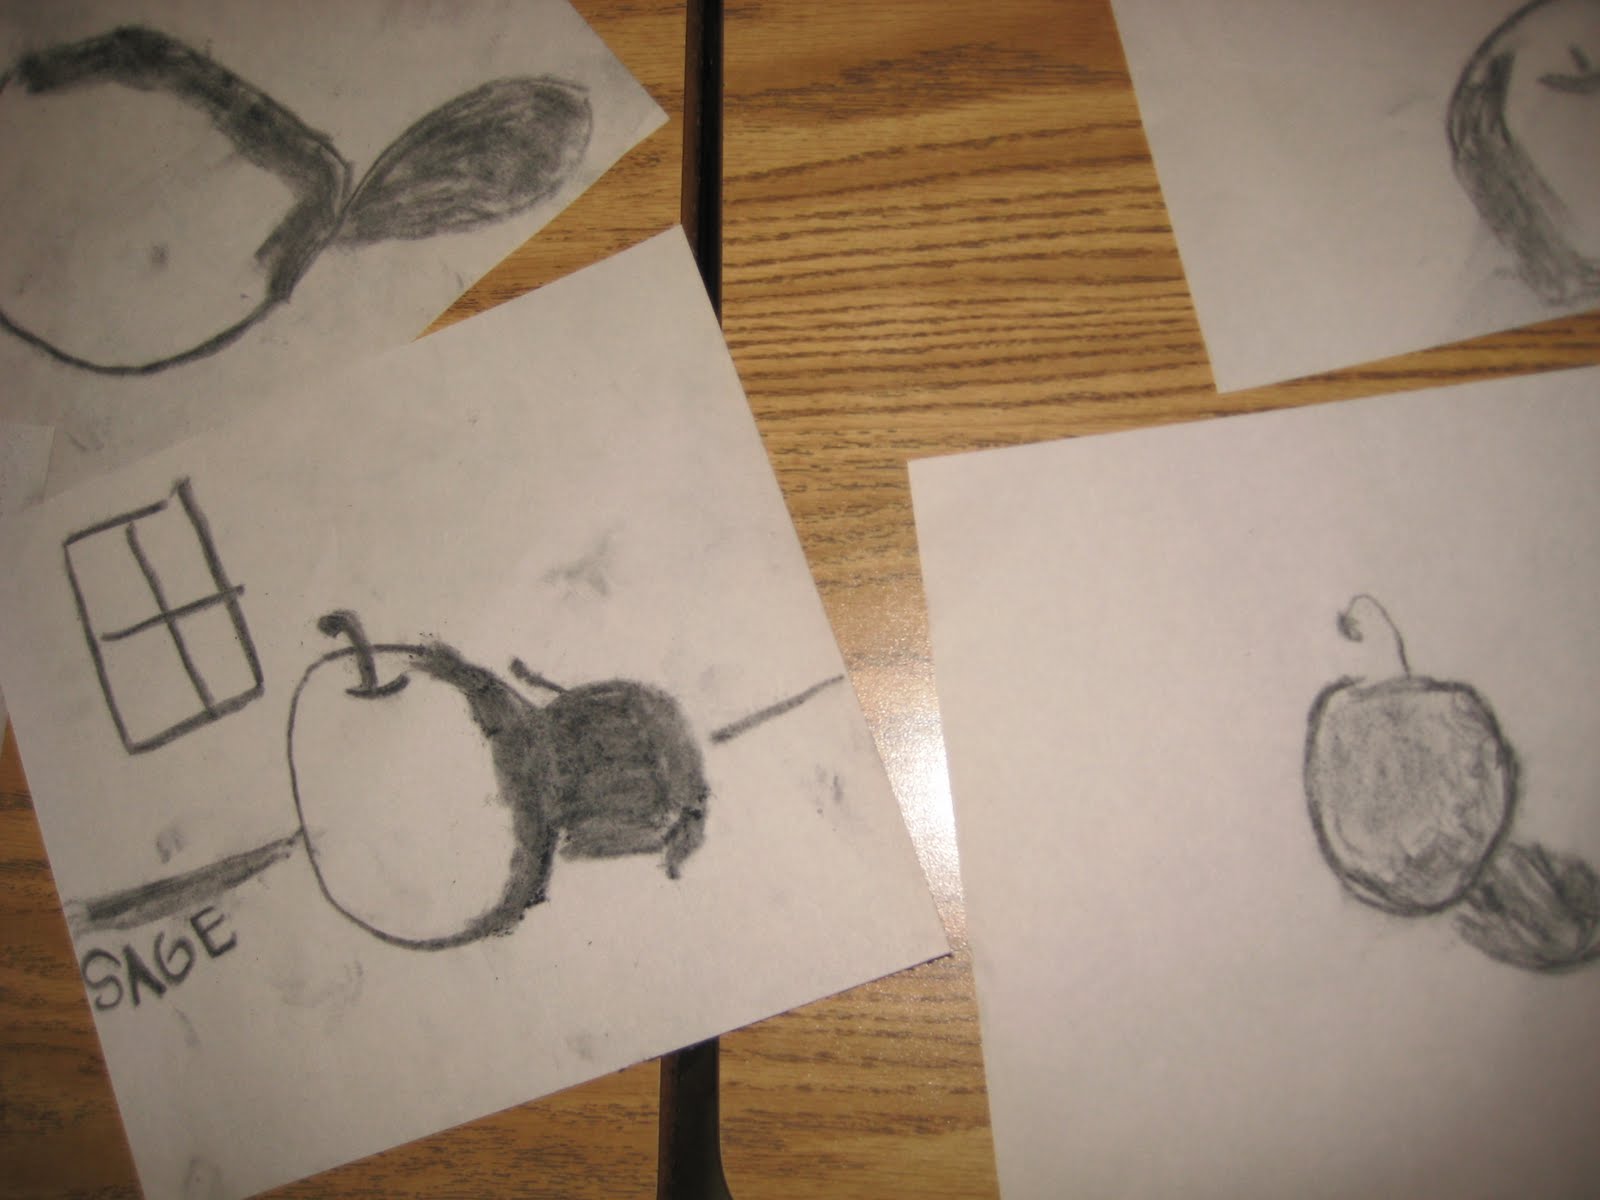
Nothing is better than giving kids materials that are from the get go messy. Charcoal is certainly no exception. There is no way possible that one can avoid getting it all over your hands, and mysteriously also on your face somehow. As you should if you are really getting into it you'll end up with it all over your clothes as well. Oh yes, did I mention vine charcoal is also rather brittle? So with all of those pluses going for us we thought let's give it to little kiddies and let them have a hand at it and see how clean they can stay with it. I love seeing kids getting all sorts of messy when they are doing art because they are so into it they don't realize it, as opposed to the ones that are smudging it all over themselves because they decide they are the canvas instead. It's all good fun. So this week we thought it might be good to talk about shading and shadows with our classes. We have so many that love to draw though so few have yet brought in any dimension to their drawings yet, as is expected for a kids ages 5-8 years old. There is certainly nothing wrong with a fabulous good old 2D drawing, but when they start getting the idea of 3D a whole new world opens up to them. I love expressive mediums like charcoal. It is forgiving, yet bold. We took the children through the process of a simple circle and transforming into a sphere, and what that all means. The discussion went into the difference between a flat circle and sphere is, what a light source is and how that effects the subject, and where the shadows and shading fall. First we walked them all through us drawing our sphere step by step and explaining what we were doing and why. Then we had them each do a couple practice drawings of a sphere with shadow. For the final drawing we discussed still life and what that was, and set out for the children some fruit and a coffee mug to draw. It was great to see how some children totally expanded on what they saw by adding additional items. For some the charcoal was almost too messy, but the good thing is it is easy to clean up.
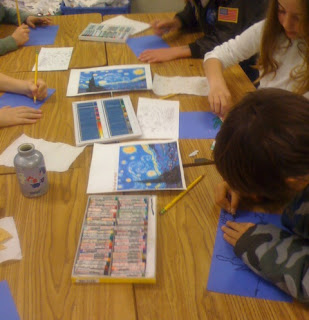
On to our next project with oil pastels, another rather expressive medium, and one of my favorite. Since we looked at Picasso last week why not take a step back and look at Vincent Van Gogh? Van Gogh has such a great story. A sad and depressing story, but nonetheless, a wonderful persistent one. So, we gave a brief history of the artist, Vincent Van Gogh, and how he died at a young age of 37, was supported by his brother Theo for the majority of his life, and how he loved to create art. It was almost as if he had no choice, he certainly made no money from it while he was alive, and with very little encouragement by barely anyone except his brother he still found it in him to press on. Thank goodness he did. The whole impressionist style pre-, post-, and neo- I love it all. I personally find the impressionist movement very emotional and expressive. Anyway back to the class we study Van Gogh's "Starry Night" landscape. Through the study of his picture we talked about foreground, middle ground, and background. We also discussed the brushstroke and how the color is created by using multiple colors in an area to create the subject. It's like layering color onto itself, and it creates a very rich, deep, interesting appearance. We had them with a pencil create an outline/guideline of where to place the color, and then they began layering the color into their picture with the oil pastels. The children's interpretations of "Starry Night" came out beautiful.




 Our second project for the day was our signs of summer. We talked about all of the signs or symbols that represent summer. We used a textured paper and had them create anywhere from 4 to 8 boxes on their paper. In each box using oil pastels drew a sign that represented summer for them. Living in California it tends to get a little bit fuzzy sometimes where summer starts and ends, but we came up with a large master list of signs/symbols. It was a fun project that turned out quite well. Oil pastels are a great medium that the kids tend to like using and have a wonderful richness to them.