Sunday, January 9, 2011

Winter Session 2011 Week Ten

Sushi Spectacular- Kids Make Sushi

This week is all about sushi. We discussed what the different types of sushi are, and how it is prepared. The kids were able to roll their own maki rolls. We offered 4 different types of fillings, carrots, cucumber, avocado, and crab stick. For those kids that might not be so into using the sushi nori for the wrapper we also offered a soy wrapper. The soy wrappers are a fairly new product, and they don't add much flavor to the roll. So for those that are not a fan of the seaweed flavor from the nori this is a great alternative. Though we have found that they are a bit more difficult to stick together. We also had the kids make inari, which is fermented tofu that is essentially marinated in soy sauce, sugar, and a couple other things. You then open up the pouch and fill it with rice, and fold it closed. My daughter calls them pillows which they look very much like them. We offered the kids some Korean style roasted seaweed that for most people is much easier to eat I think because of the sesame oil and salt which makes them delicious. When we sat down to eat our sushi spectacular we had green tea, miso soup, and then dug into our sushi. The children were given chopsticks if they were adventurous, and if they were extremely adventurous they could try wasabi which is a hot japanese horseradish. Afte the meal they got to try some homemade sweet mochi, and a store bought fruit stuffed mochi. It was a super fun way to end the winter semester.


Winter Session Week Nine

Saint Patrick's Day- Mosaic Shamrocks and Rainbow/Shamrock Cuffs

There was a old woman who lived in a shoe.
She thought it'd be nice to paint it blue.
A giant by mistake,
the shoe did he take.
Now the old woman is going boohoo. Written by Kathie Stokes

Yes, who knew I could write such eloquent limericks. The day is upon us to celebrate the color green, little mysterious people, gold coins, rainbows, shamrocks, pinching others, and for those who are old enough green beer? If you haven't guessed already, and I am assuming you have since I have some smart cookies who read this, yes in fact, St. Patrick's Day arrived. So, for the glorious occasion we made collage, mosaic shamrocks, and rainbow shamrock cuffs. We also talked about limericks, and the kids wrote a few themselves. We kicked it off with the story of how St. Patrick's Day came to be.

Starting with the collage-mosaic shamrocks we had the children use some cardstock, and trace a large shamrock onto the paper. Then using yellow and green tissue paper they painted matte medium onto the paper and laid down the tissue paper, and then painted over it to seal it. The matte medium dries clear and gives the appearance of stained glass in a way. After it dried they then cut out the shamrock and we punched a hole on top and strung a ribbon through so they could hang it in a window.


Here's a shot of our powerful rainbow/shamrock cuffs. When you want to become one with the leprechauns you wear these, and it helps you find those elusive gold coins, yippee! We prepared the ribbon beforehand. The kids used a template to trace and cut out their felt shamrock, and thread it onto their new fangled cuff!


Winter Session Week Eight

Mardi Gras- Jumping Jacks & Splatter Friends

Break out the crowns, beads, gawdy costumes, and king cakes Fat Tuesday is here!! So our projects for this inspiration is all based on the craziness, colorfulness, dancing, and myths that surround Mardi Gras.

Our first projects is what we like to call Splatter Friends. We had the kids pick two colors of paint and they applied it to the paper by blowing the paint around on the paper with a straw. This created a random, mysterious, organic shape. After the paint dried we had the children draw with a black marker or pen using the shape created by the paint some sort of animal, creature, fairy or monster. I love these sort of projects because it allows the kids to be super imaginative, and push their creativity. Not to mention so completely abstract which is so cool.


Jumping Jacks/Pantins

I love these crazy characters. They can dance like nobody's business. These fun toys are called jumping jacks, in French it's a pantin. I was originally trying to find a different type of toy, but still the same idea of self created movement. These characters reminded me of the fanciful nature of Mardi Gras. The kids picked out the pantin they wanted to create and cut out all of the parts. We them had them put together all of the joints with brads, and then we helped them tie all of the strings to make their jumping jack go crazy. These are super fun, and with the basic structure anyone could create there own jumping jacks. I suggested to some kids that they may want to create their own at home, and a robot could be a natural pantin.


Winter Session Week seven

Totem Poles & Terracotta Coil Pots

This weeks projects are inspired by Native Americans. Looking at the beautiful totem poles of the Northwest, and coil pots based on a story of Cherokee legend. The coil pots were inspired by a book called "Grandmother Spider Brings the Sun: A Cherokee Story" by Geri Keams which is based on a Native American Legend. This excerpt below is taken from the website that discusses more about Native American legends and the book (http://www.firstpeople.us/FP-Html-Legends/GrandmotherSpiderStealsTheSun-Cherokee.html).

A Cherokee Legend

Now, when Earth was brand new, there was much confusion, for there was darkness everywhere. All of Earth's Peoples kept bumping into each other, and were often hurt. They all cried out for light, that they might see.

Fox said that he knew of some people on the other side of the world who had plenty light. He said that it was nice and warm, but those people were too greedy to share it with anyone else. Possum said that he would steal Sun. "I have a beautiful, bushy tail," he said. "I can hide the Sun in all of that fur. Let me try."

So Possum went to the other side of the world and found the Sun. It was hanging up in a Tree and lighting up everything. Possum took a piece of the Sun and hid it in the fur of his tail. But Sun was so hot that it burned all of Possum's tail hairs off. To this day, Possum has a bare tail. The people discovered Possum and took the piece of the Sun back.

Buzzard said, "I will take the Sun myself. I will put it on my head, so that I can see where I am going with it." So he tried to take the Sun too. He flew to the other side of the world, and dived down to snare the Sun in his claws. But it was so hot that it burned all of Buzzard's feathers off of his head. To this day, Buzzard's head is bald and ugly. The people discovered Buzzard, and took the Sun back.

Then Grandmother Spider said, "Let me try." First, she made a very thick clay pot, big enough to put the Sun in. Then, she spun a web which reached all the way to the other side of the world. She was so small and quiet that these people did not notice her at all. When she was ready, she quickly snatched up the Sun in her big clay pot, and hurried back home along her web. Now her side of the world had light, and warmth. Everyone rejoiced at Grandmother Spider's gift.

Spider Woman brought the Sun to the Principal People, the Cherokee, but also the gift of fire. She also taught them to make pottery.

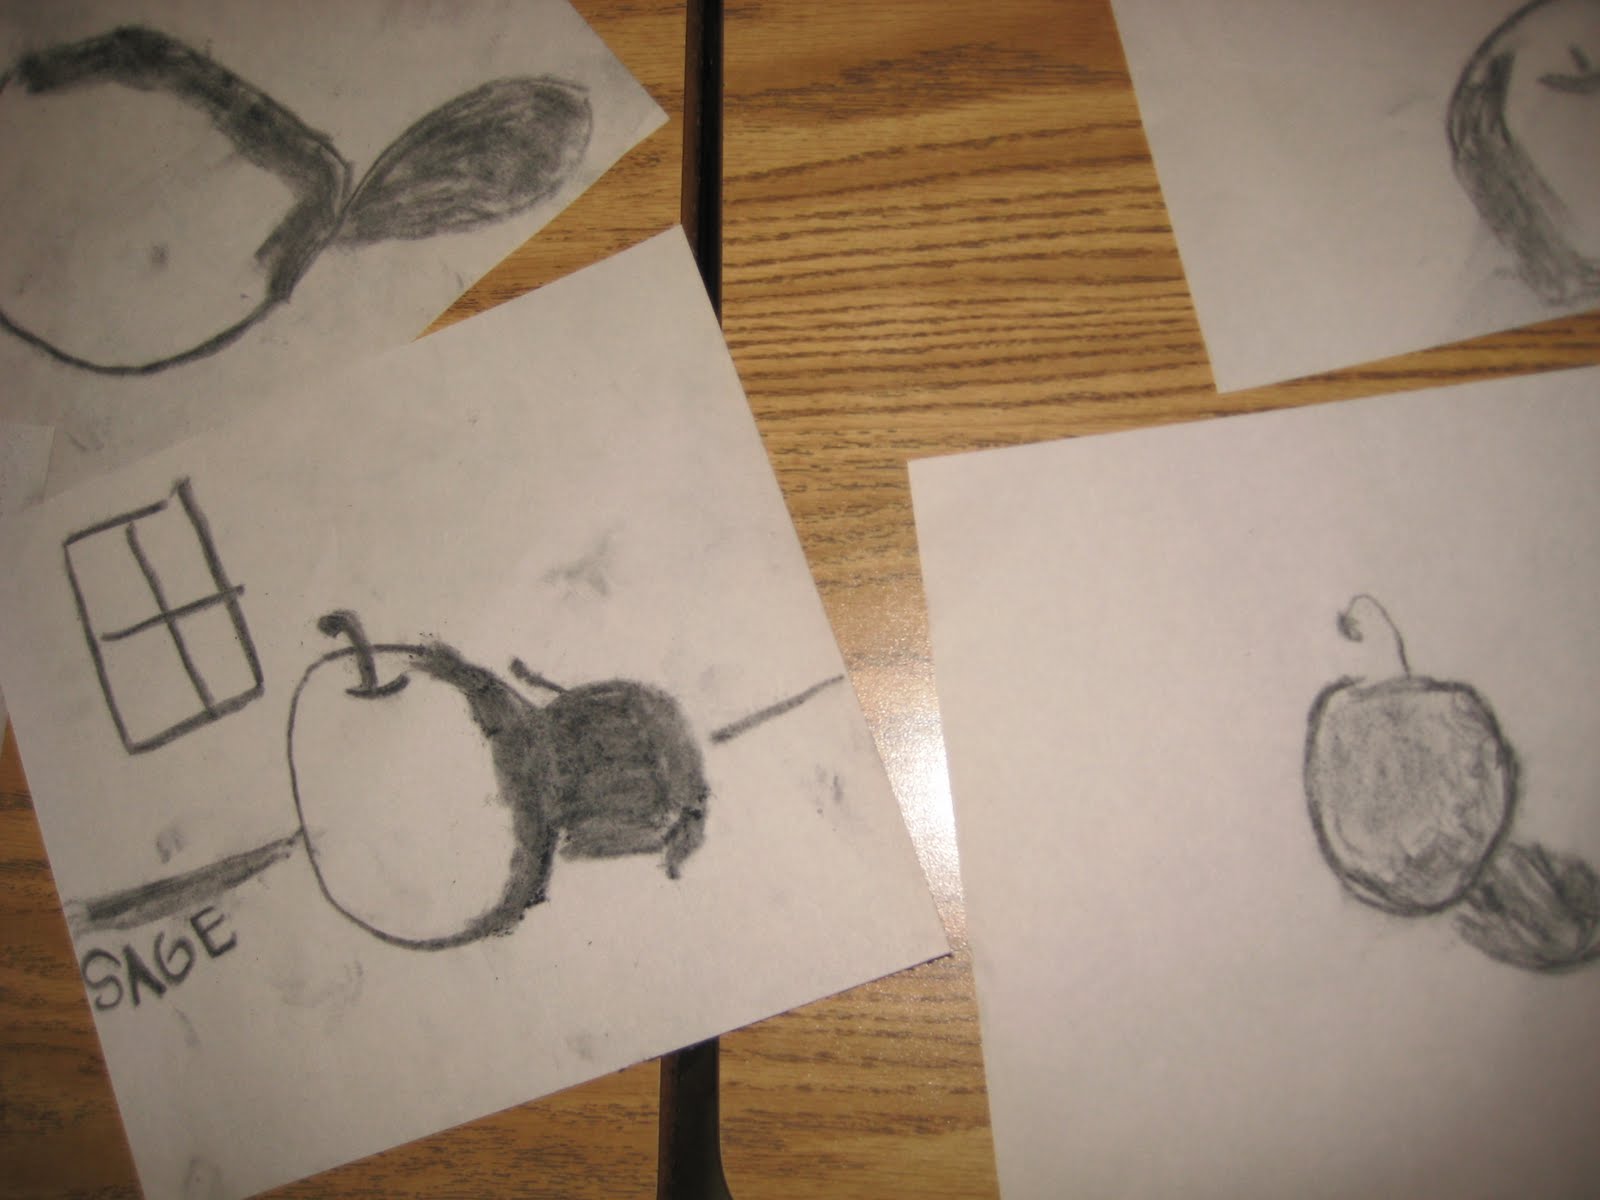
As the pictures below show the children making their own pots to carry the fire.


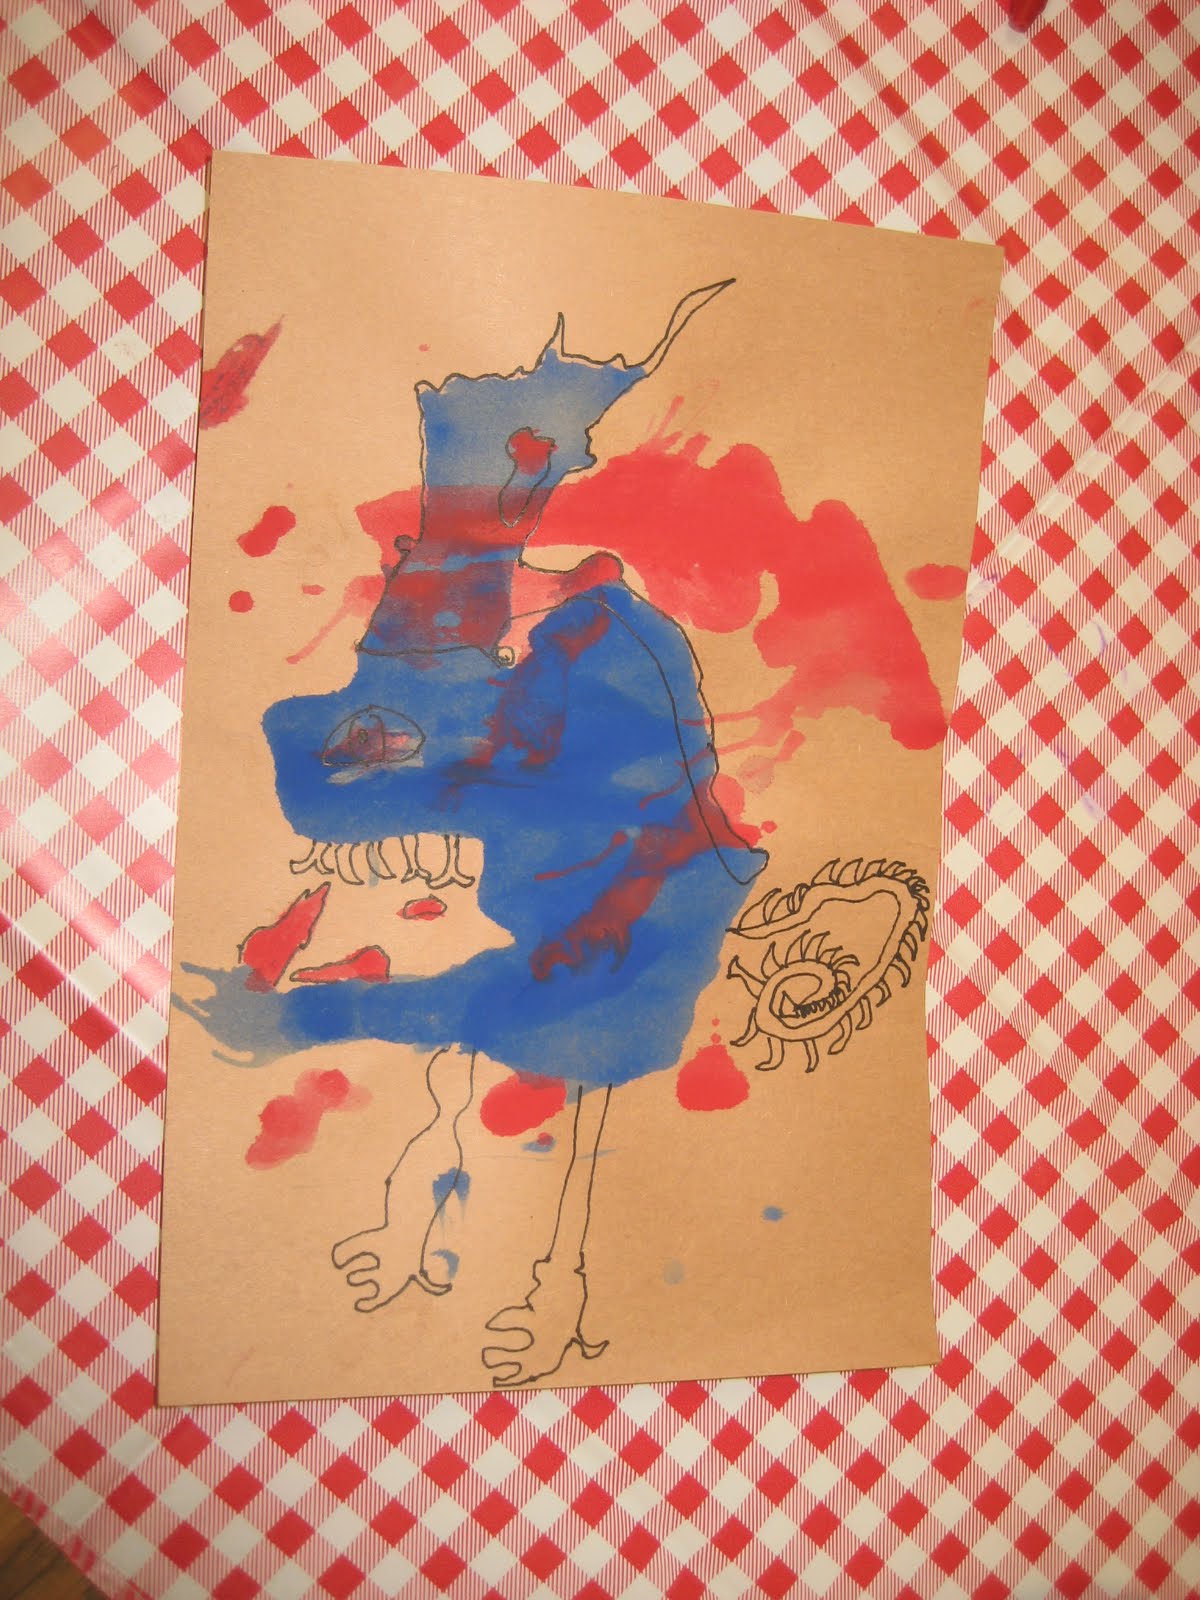
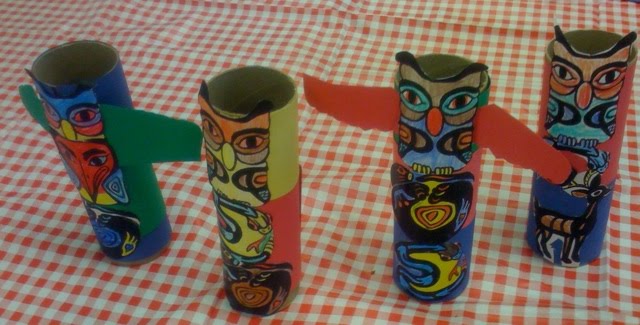
Totem Poles have history and tell a story about family, tribe, or village. Sometimes a totem pole would take up to 2-4 years to make. This week we talked about these pictorial poles that can tell a story. We took from the Native American earth medicine birth totem guide that tells what animal we are based on our birthday. It is similar to the well-known horoscope guide. We went around the room to find out where each student landed on the birth totem. We had all the different animals that they could choose from to color for their own totem pole. The colors they used for the totem were limited to colors typically found on totems so they had a more traditional appearance. They then were able to choose from construction paper colors to cover up the paper tubing, and then paste on their animals they colored. All of the totems looked magnificent. For more information regarding the birth totem you can go to this website: http://wolfs_moon.tripod.com/contentsindex.html

Here is what the book looks like that we referred to regarding totem births. It is an interesting book.


Winter Session Week six

Van Gogh Starry Night Challenge & Charcoal Shading and Shadows

Nothing is better than giving kids materials that are from the get go messy. Charcoal is certainly no exception. There is no way possible that one can avoid getting it all over your hands, and mysteriously also on your face somehow. As you should if you are really getting into it you'll end up with it all over your clothes as well. Oh yes, did I mention vine charcoal is also rather brittle? So with all of those pluses going for us we thought let's give it to little kiddies and let them have a hand at it and see how clean they can stay with it. I love seeing kids getting all sorts of messy when they are doing art because they are so into it they don't realize it, as opposed to the ones that are smudging it all over themselves because they decide they are the canvas instead. It's all good fun. So this week we thought it might be good to talk about shading and shadows with our classes. We have so many that love to draw though so few have yet brought in any dimension to their drawings yet, as is expected for a kids ages 5-8 years old. There is certainly nothing wrong with a fabulous good old 2D drawing, but when they start getting the idea of 3D a whole new world opens up to them. I love expressive mediums like charcoal. It is forgiving, yet bold. We took the children through the process of a simple circle and transforming into a sphere, and what that all means. The discussion went into the difference between a flat circle and sphere is, what a light source is and how that effects the subject, and where the shadows and shading fall. First we walked them all through us drawing our sphere step by step and explaining what we were doing and why. Then we had them each do a couple practice drawings of a sphere with shadow. For the final drawing we discussed still life and what that was, and set out for the children some fruit and a coffee mug to draw. It was great to see how some children totally expanded on what they saw by adding additional items. For some the charcoal was almost too messy, but the good thing is it is easy to clean up.


On to our next project with oil pastels, another rather expressive medium, and one of my favorite. Since we looked at Picasso last week why not take a step back and look at Vincent Van Gogh? Van Gogh has such a great story. A sad and depressing story, but nonetheless, a wonderful persistent one. So, we gave a brief history of the artist, Vincent Van Gogh, and how he died at a young age of 37, was supported by his brother Theo for the majority of his life, and how he loved to create art. It was almost as if he had no choice, he certainly made no money from it while he was alive, and with very little encouragement by barely anyone except his brother he still found it in him to press on. Thank goodness he did. The whole impressionist style pre-, post-, and neo- I love it all. I personally find the impressionist movement very emotional and expressive. Anyway back to the class we study Van Gogh's "Starry Night" landscape. Through the study of his picture we talked about foreground, middle ground, and background. We also discussed the brushstroke and how the color is created by using multiple colors in an area to create the subject. It's like layering color onto itself, and it creates a very rich, deep, interesting appearance. We had them with a pencil create an outline/guideline of where to place the color, and then they began layering the color into their picture with the oil pastels. The children's interpretations of "Starry Night" came out beautiful.